Mastering Bonding Techniques in Orthodontics
A visual guide to effective bracket placement and adhesive protocols. From surface preparation to light curing—
refine your skills, minimise errors, and achieve predictable, long-lasting results.
Bonding fixed appliances
Remember that bonding up is a delicate process that requires a combination of artistry and scientific precision.
When doing a bond-up, it's essential to follow these steps:
Thoroughly examine the case beforehand.
Plan any necessary modifications carefully.
Prepare the required materials and brackets in advance.
Have access to OPG and other radiographs.
If bite opening is necessary, inform the patient.
Prepare instructions, videos, and aftercare kits for the patient.
5 main landmarks to consider when bonding brackets:
The Facial Axis of the Clinical Crown (FACC)
The long Axis of the tooth
Incisal Edge
Marginal Ridge
Contact Points
-
For all teeth except molars, it represents the most prominent part of the central lobe on each crown's facial surface. For molars, it is indicated by the buccal groove that separates the two mesial buccal cusps. The FA POINT is the midpoint of the FACC and serves as the placement point for brackets to ensure proper expression of the prescription.
-
Some brackets feature a line that assists in aligning the long axis of the bracket with the tooth's long axis.
-
Upper incisor brackets should be positioned at the same distance from the incisal edge, or, if the smile arc is to be preserved, the lateral incisor brackets can be placed 0.5mm closer to the incisal edge but never further.
-
Canine and central incisor brackets can be aligned at the same level.
-
Premolar brackets can be placed at the FA point.
-
Molars should be placed adjacent to the buccal groove.
-
Ensure that the marginal ridges will be levelled once the bracket slots are levelled.
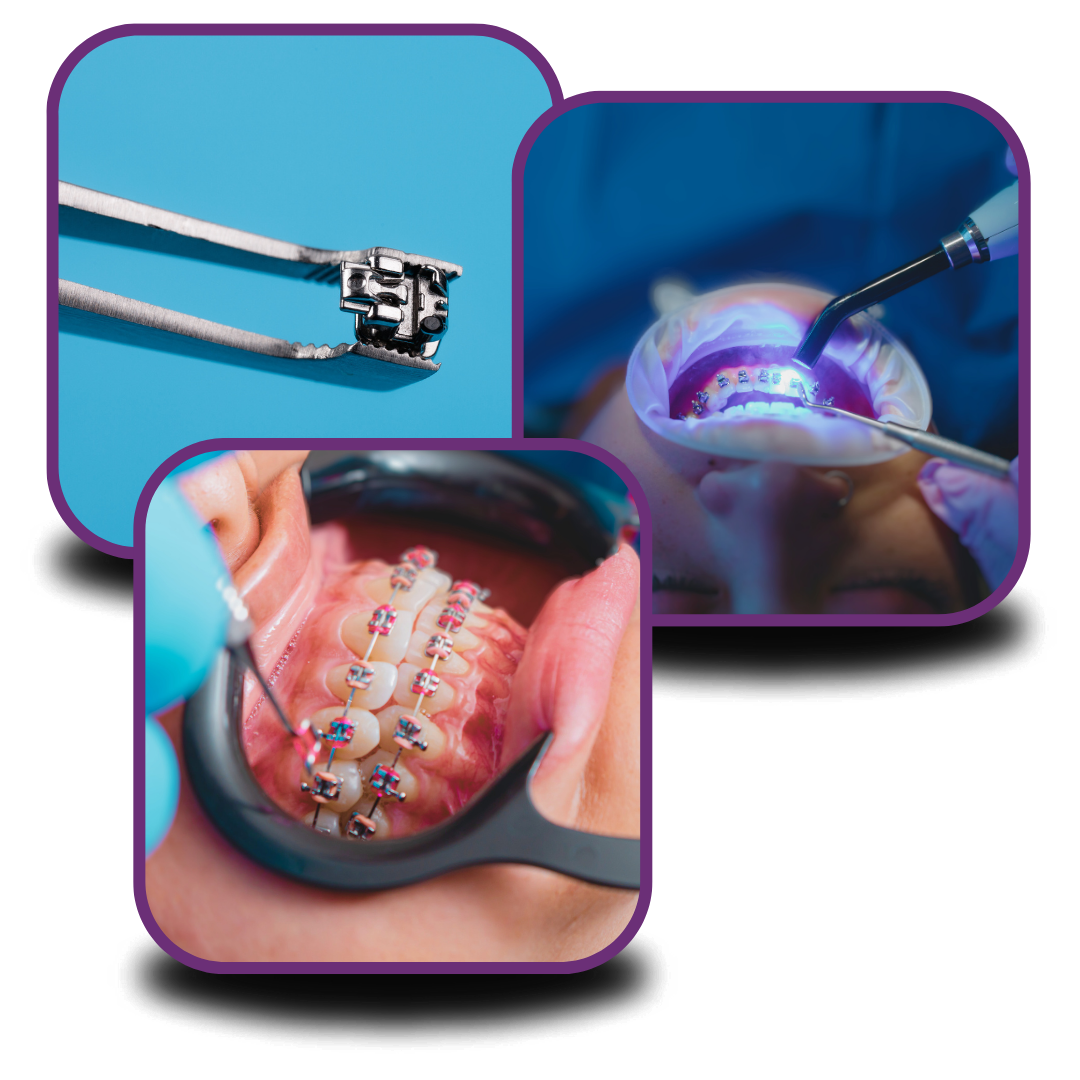
Fixed appliances Bond-up Set-up
Preparing the correct instruments and materials is essential for an efficient and successful bonding procedure. The image shown highlights a typical clinical tray set-up for fixed appliance placement.
Core Instruments & Materials Include:
Cheek Retractor & Saliva Control Tools
For optimal access and dry field maintenance.Bracket Tray with ID Chart
Ensures easy identification and correct bracket placement for each tooth.Etchant, Primer, and Adhesive Resin
Key components for enamel preparation and secure bracket bonding.Bracket Holding and Positioning Instruments
Including bracket tweezers, positioning gauges, and explorers.Light Cure Unit
Used to polymerize the adhesive and ensure bracket retention.Hand Instruments & Pliers
Featuring bracket height gauges, bracket placement tweezers, ligature cutters, and utility pliers.Cotton Rolls and Micro Brushes
For isolation and precise application of materials.
This standardised set-up not only supports precision in bracket placement but also helps ensure consistency across cases, reducing chairside time and improving outcomes.

Tips:
Precise bracket placement can minimize the need for extensive orthodontic finishing.
If you're unhappy with a bracket's position, it's better to wait and reposition it along with others later (some conditions apply).
If you're running behind schedule, consider bonding a single arch first.
There are various bonding modifications (e.g., Smile Protection Bonding Protocols by Pitts 2009,etc ), but it's essential to understand conventional bonding first.
Accurate bonding ensures proper TIP, TORQUE, and IN-OUT expression; incorrect bracket placement can affect these values.
Placing the bracket to avoid the occlusion is not always a good idea, place the bracket in the right position and the bite can be dis-occluded using cement if needed.
Press down on the bracket and remove any excess adhesive when bonding.
A Boone Gauge or Bracket positioning instrument can be helpful initially but strive to use visual estimation primarily with the gauge as a double-check.
Drawing on the model can improve predictability in bond placement.
Account for morphological and malocclusion variations on a case-by-case basis (See below)
Banding or Bonding:
Banding of molars (6s) should be avoided, when possible, the bonding materials used in this day and age are far superior to previous systems and hence the benefits considerably outweigh any problems.
However, in cases requiring the placement of a TPA or similar structure, banding may be necessary.
Issues with Banding:
Inaccuracies in tube position
Periodontal issues, food impaction etc.
Excessive unnecessary armamentarium
Spaces between the molars developing post de-bond.
Moisture Control:
Moisture control is crucial, and medications are rarely needed. Retractors like Optragate and Optiview, along with cotton rolls, help keep the lips and cheeks away. Ensure a frosty appearance before applying any bonding agent. Applying adhesive quadrant-wise, starting with 6-3 on both sides and then moving to 2-2, is often the best approach.
Bite Blocks:
Various materials like GIC, composite, or Triad Gel can be used to prop the bite. Their placement depends on the patient's bite. In deep bites, placing bite blocks in the canine/incisor regions is ideal, but sometimes this is difficult. Posterior bite blocks need to be removed during the treatment to avoid intrusion.
Variations:
-
Vertical bracket positions may be adjusted to address deep or open bites. Be cautious and ensure you know the other effects of the same. Variations on flat surfaces would not have any major effects on the prescriptions, but on curved surfaces it can be more critical to monitor the torque.
-
Open bite cases may require more occlusal bonding in the posterior and more gingival bonding in the anterior, and vice versa for deep bites.
-
Second molar bonding should generally be more occlusal, else open bites can develop, but in some cases of deep bites, this is warranted. Premolar brackets should not be placed too occlusally as lateral open bites can develop.
-
Lower lateral incisors should be bonded slightly mesially for a good curve. (Review this on a case-to-case basis)
-
Lower canines should be bonded slightly more mesially to avoid a step between the canine and the lateral incisor.
-
Worn or attrited edges may require planning before bonding. Restorative teams should be consulted.
-
Inverting brackets can be important in certain cases, especially in those where the torque needs to be controlled, such as in cases of a palatally placed incisor. The torque present in the bracket is not enough to ensure the correct placement of the root.
-
Over-angulating brackets should be avoided by beginners but can accentuate or reduce the inclination of the anterior. This is also used in creating space for an implant.
-
Swapping lower canine brackets can assist in tipping the canines distally to allow lower incisor alignment and retroclination in class III cases.